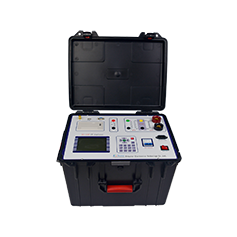
Operation Guidance
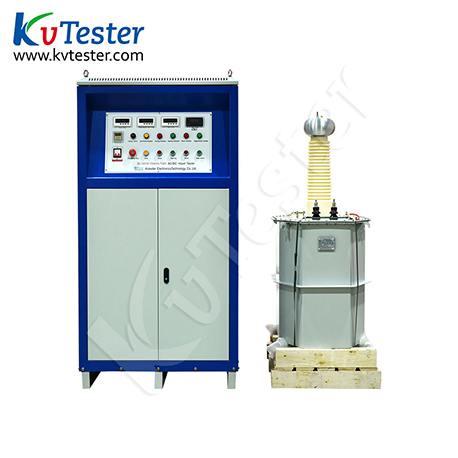
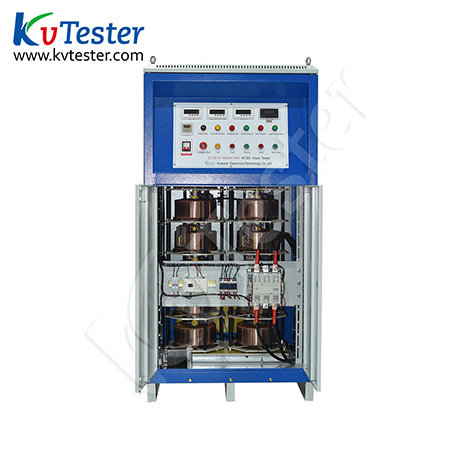
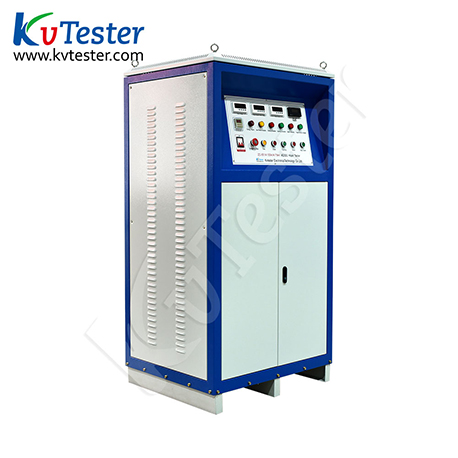
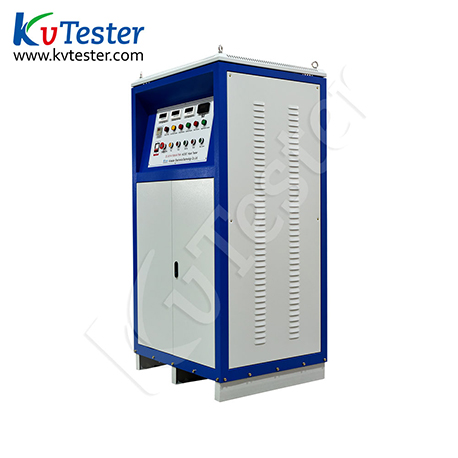
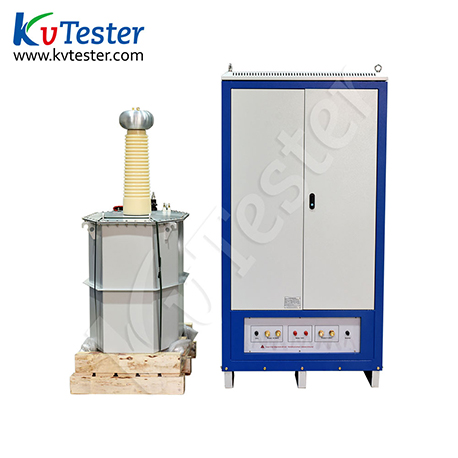
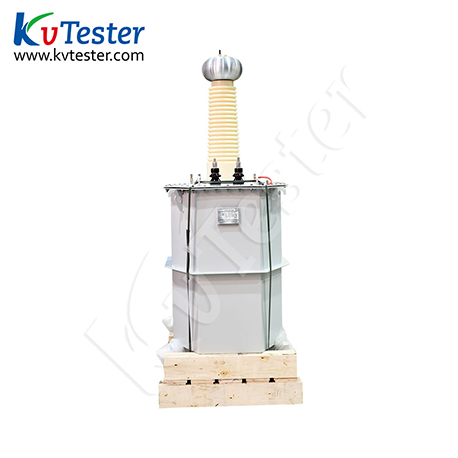
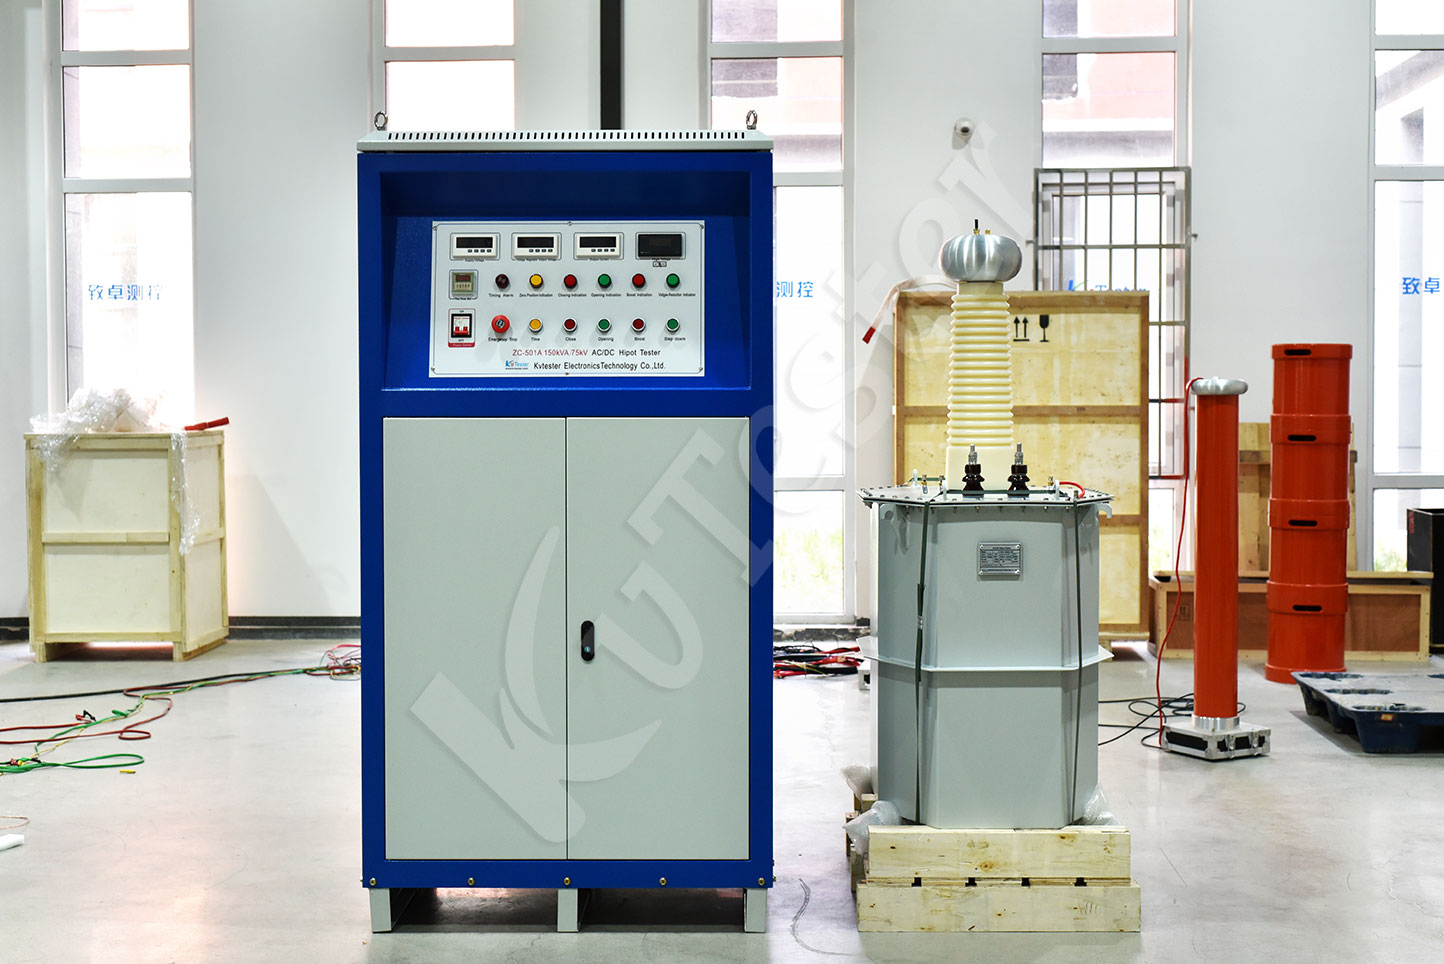
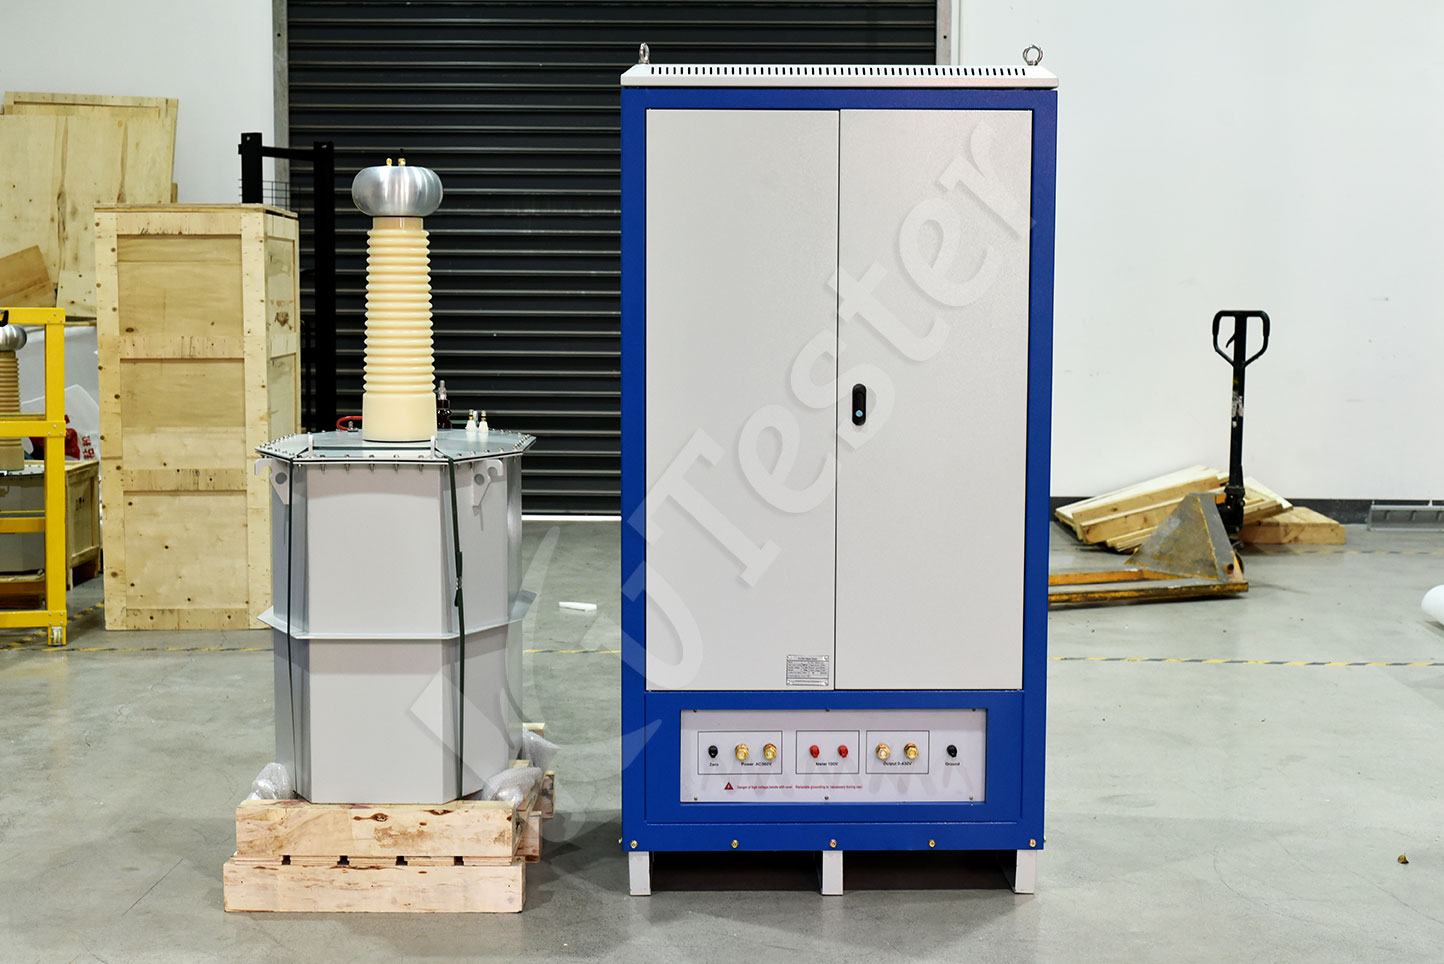
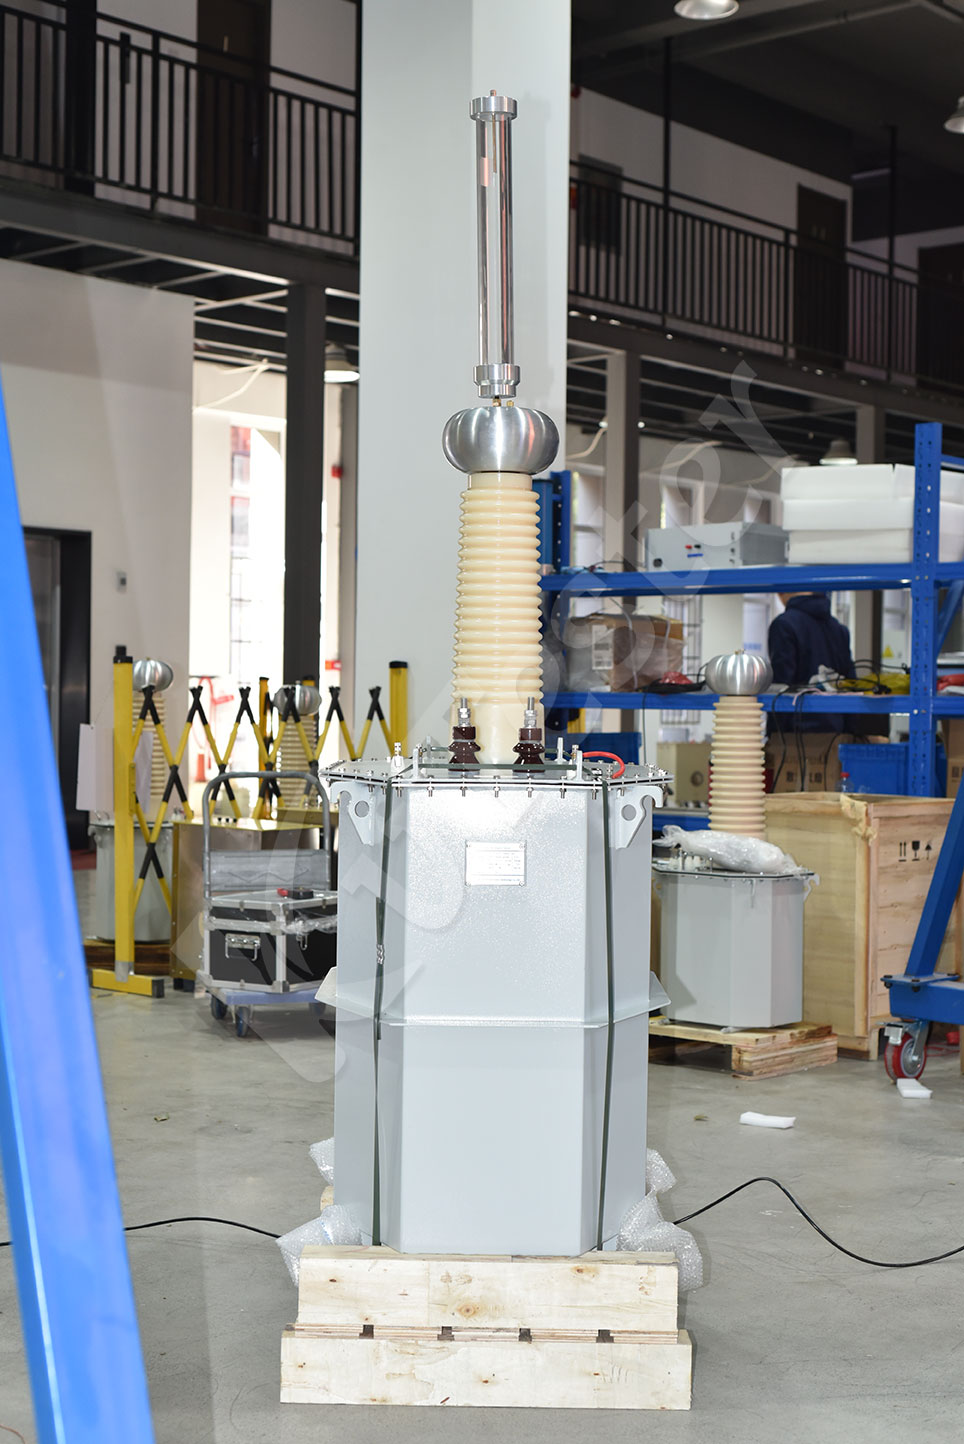
1. Before connecting the power supply, the operator (platform) must be placed in a suitable testing site, and the overvoltage setting and overcurrent protection setting values (specific ratios can be found in the comparison table of each setting value) should be set according to the needs of on-site testing, and corresponding safety isolation measures and personnel protection should be taken. Connect the connection wires between the console and transformer, and connect the high-voltage output to the tested object, power cord, and ground wire. (The equipment must be reliably grounded during before testing)
2. Connect the power supply, turn on the power switch of the voltage tester, the disconnection indicator light is on, all instruments display normally, and the zero position indicator light is on (if the zero position indicator light is not on, press the voltage reduction button until the zero position indicator light is on before closing). Adjust the voltage regulator to zero position.
3. Press the closing button, and the red indicator light will turn on, indicating that the voltage tester has been powered on and is waiting for voltage rise.
4. Press and hold the boost button to increase the voltage at a rate of 1.5-2KV/S, and closely monitor the instrument indicators and the condition of the test sample. When the desired voltage value is reached, release the boost button to start timing. Press the timing button to start the timer. When the time is up, the timer alarm will sound. Pay close attention to the display values of each instrument. When the zero position light is on, press the disconnect button to disconnect the main power supply and the power supply air circuit breaker.
5. When the leakage current is too large or the test object breaks down, the overcurrent protection relay will quickly cut off the power supply. Restarting requires returning to zero.
6. In case of emergency during the pressure resistance process, press the emergency stop button to immediately power off and shut down the equipment.
7. After the experiment is completed, press and hold the voltage reduction button until the voltage drops to zero, and the zero indicator light will light up. Release the voltage reduction button, press the disconnect button, disconnect the power supply air switch, unplug the power supply, and use a discharge rod to discharge the high voltage end before removing the high voltage connection wire. The experiment is over.
8. If it is found during the experiment that the displayed value of the voltmeter fluctuates too much, the indicated value of the ammeter increases sharply, or the test sample smokes, jumps, has a burnt smell, and makes abnormal noises, the voltage should be immediately reduced, the power should be cut off, and the cause should be checked.


