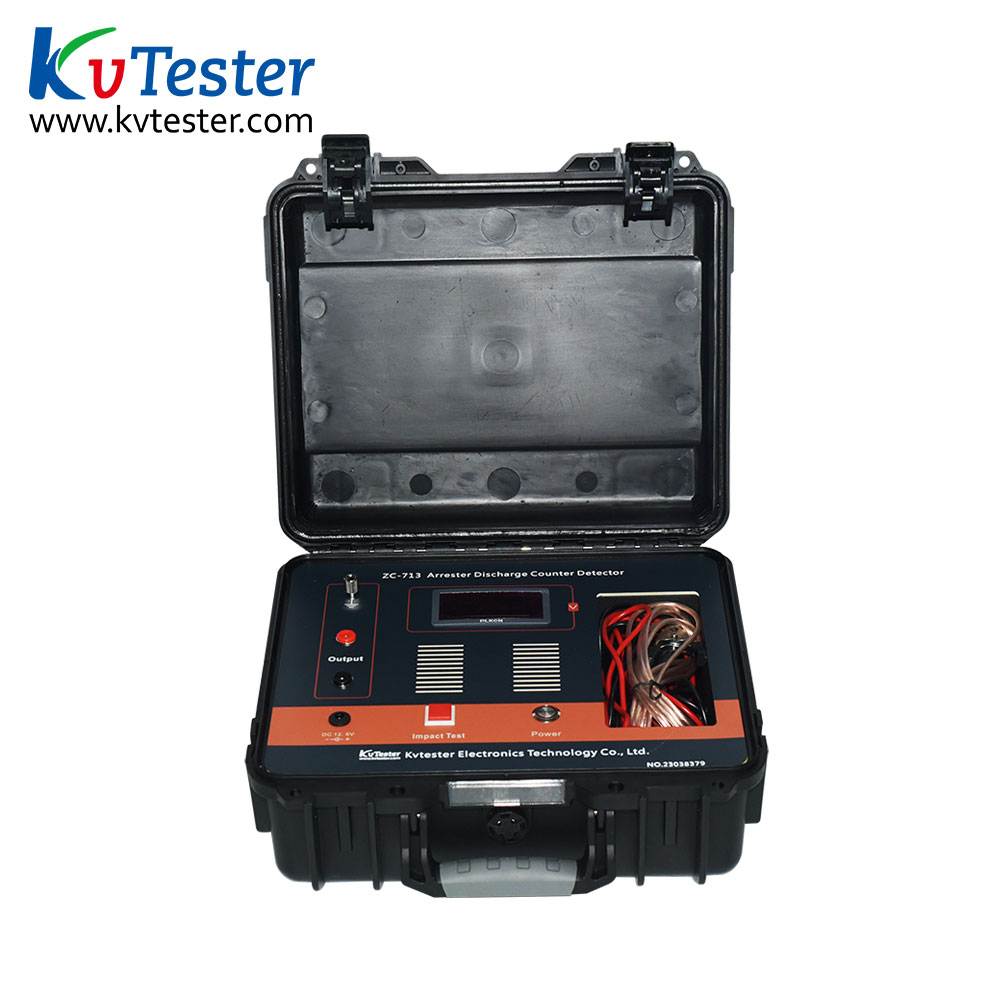
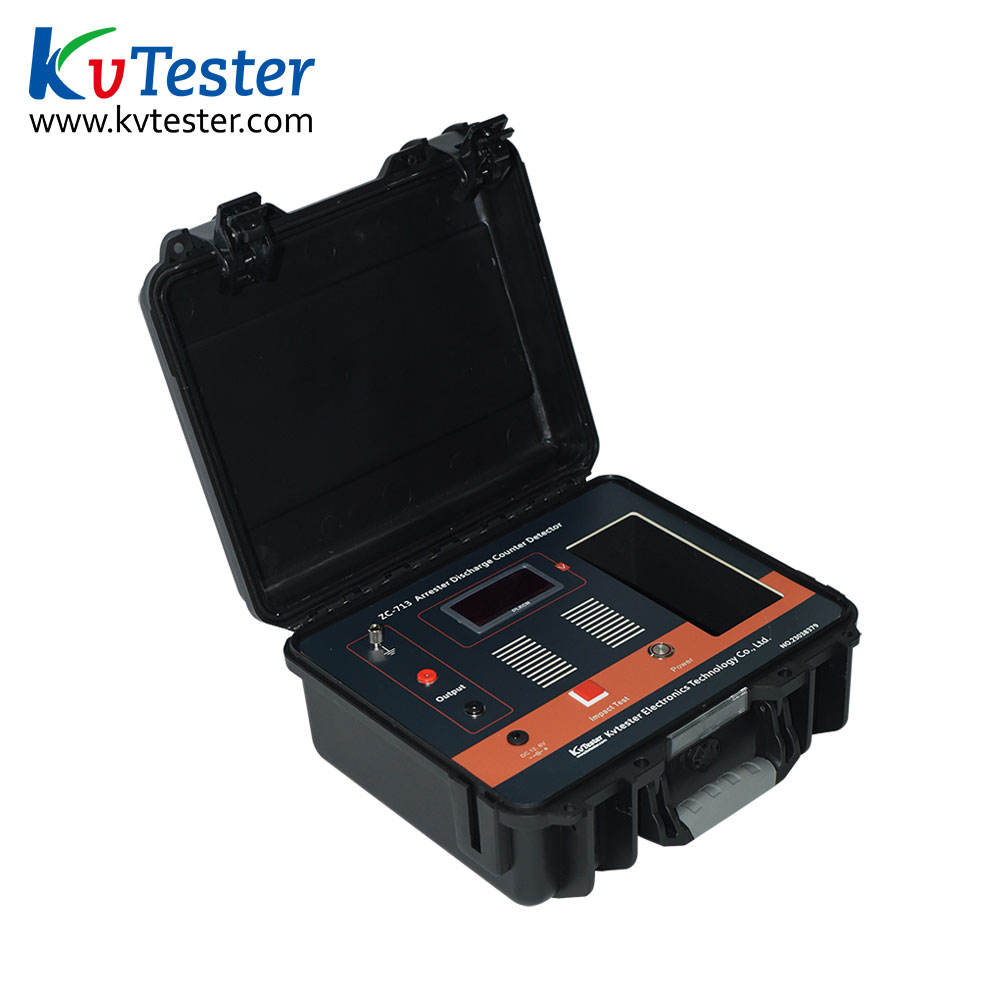
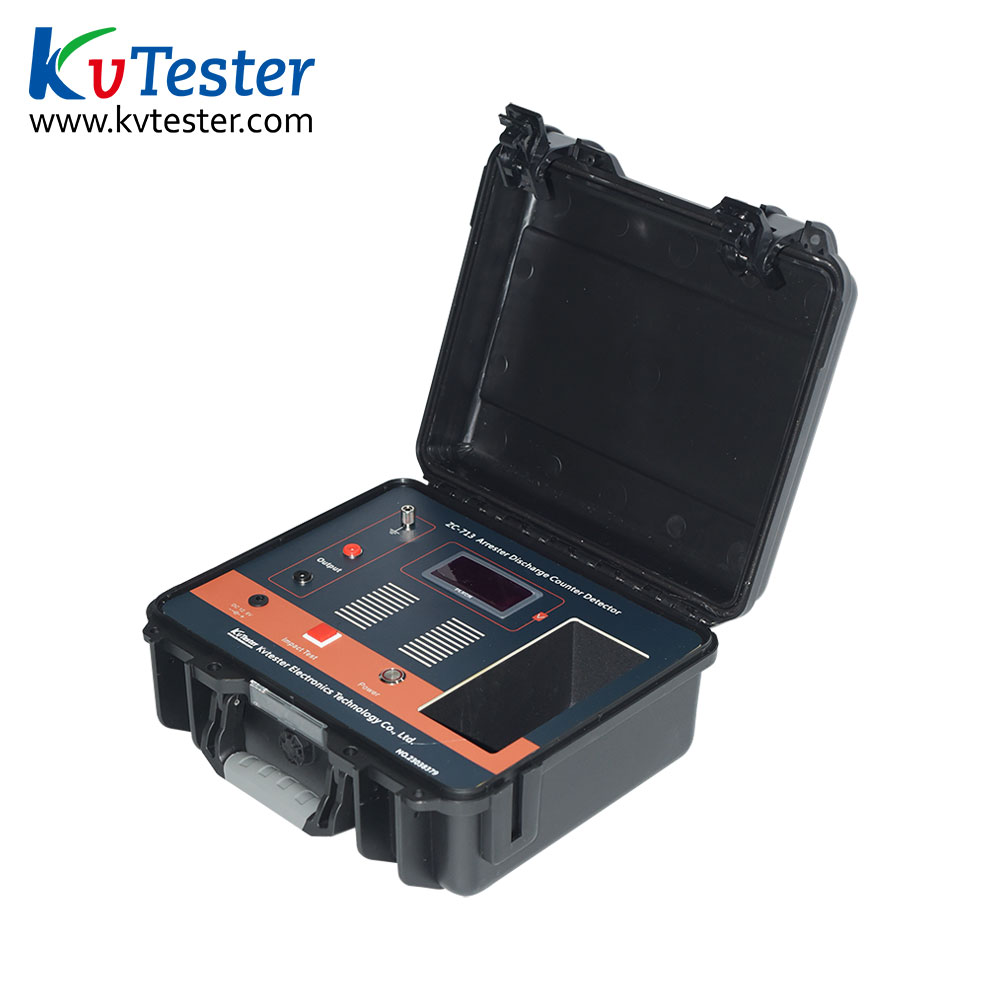
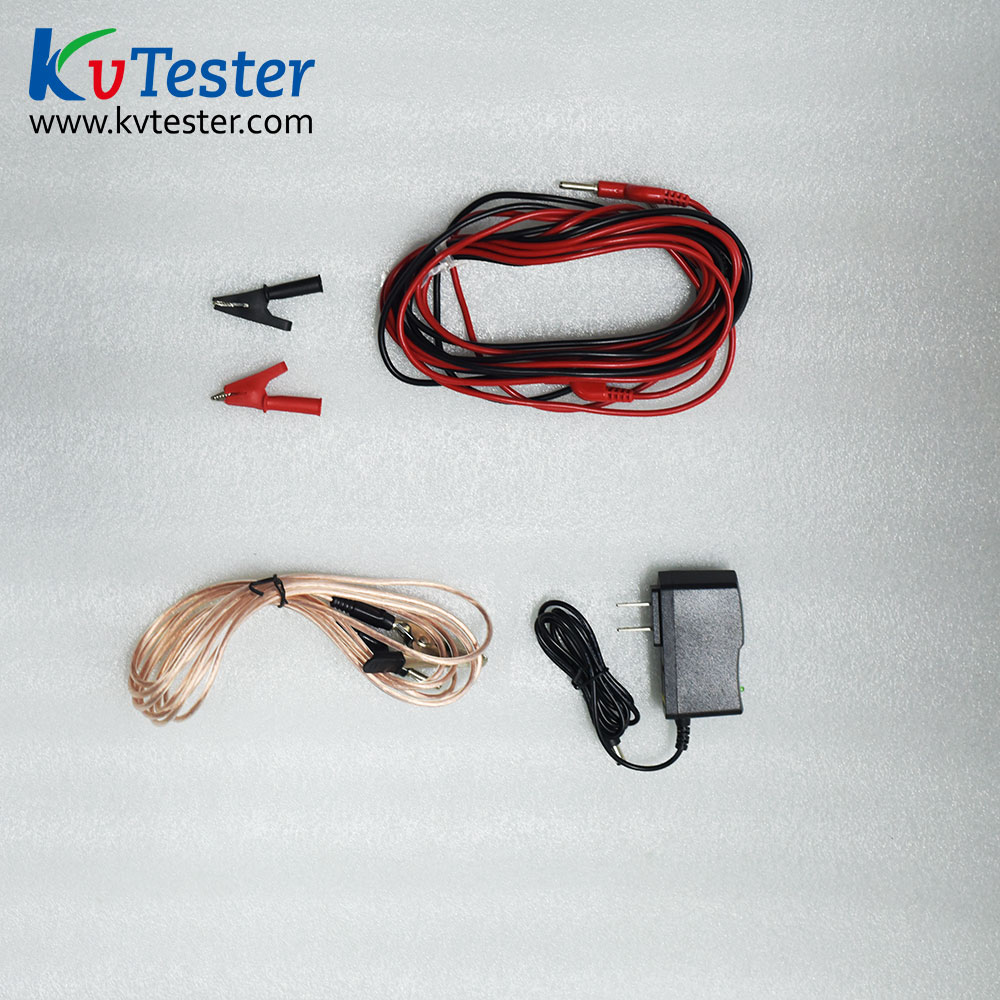
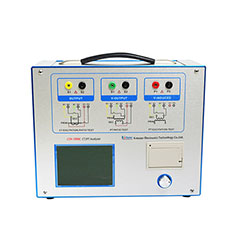
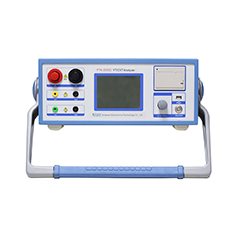
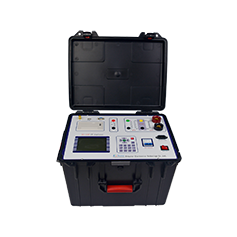
1. The output end of the instrument is connected with both ends of the arrester counter, the red end is connected with the upper end, and the black end is connected to the ground.
2. After the power cable is connected, check the instrument and the wiring is correct, and then start the test after the confirmation.
3. Close the power switch (power light), to be stable voltage (1000V), you can begin to check.
4. By pressing the measuring key, the output voltage drops immediately, and the action of the counter can be observed.
5. For multiple tests, when the output voltage to achieve stable value, and then press the check key, and observe the action of the counter.
6. After the test is completed, immediately turn off the power supply, the output voltage is completely zero, to remove the connection.
7. If the key is pressed, the output voltage is not decreased, the power should be turned off, after the voltage is zero, check whether the circuit has a breakpoint, or discharge counter is not suitable for the technical specifications of the model.


