The insulation resistance tester is a key tool for testing the insulation performance of electrical equipment, and its operation must strictly follow the specifications to ensure measurement accuracy and personnel safety. The following are detailed operating procedures:
1. Preparation before testing
① Equipment inspection
Confirm that the appearance of the tester is not damaged, and the display screen and button functions are normal.
Check if the test line is intact, the plug is not loose or damaged, and the shielding layer is not exposed.
Confirm that the battery is fully charged (if powered by a battery) or that the power cord connection is stable.
② Processing of tested equipment
Power outage and discharge: The tested equipment must be completely powered off and short circuited to ground for at least 1 minute to eliminate residual charges.
Cleaning and drying: Remove surface dirt from the equipment and ensure a dry testing environment (recommended relative humidity ≤ 80%).
③ Environmental confirmation
Avoid testing in strong electromagnetic fields (such as near transformers and motors) or high temperatures (>40 ℃) and high humidity environments.
If the environmental humidity is high, it is necessary to record the humidity value in order to correct the measurement results.
2. Wiring operation
① Standard wiring method
High voltage output terminal (red line): connected to the high voltage side of the tested equipment (such as the head end of the motor winding).
Measurement end (black wire): connected to the low voltage side or grounding end of the tested equipment (such as the motor casing or ground wire).
Shielded wire (if any): Connect to the shielding layer of the tested device to reduce surface leakage current interference.
② Wiring precautions
Ensure that the wiring is secure to avoid measurement errors or instrument damage caused by poor contact.
It is strictly prohibited to reverse connect the high-voltage output terminal and the measuring terminal to prevent damage to the instrument due to overvoltage.
3. Testing process
① Instrument startup and setup
After starting up, select the test voltage (such as 500V, 1000V, 2500V), and the voltage level should be 1.5 times higher than the rated voltage of the tested equipment.
Set the testing time (usually 1 minute) to ensure stable insulation resistance values.
② Pressurization and measurement
After pressing the "Test" button, the instrument begins to output high voltage and observe the changes in the display screen values.
Keep quiet during the testing process and avoid touching the testing line or the device being tested.
③ Data recording
After the test is completed, record the insulation resistance value (unit: M Ω or G Ω).
To calculate the absorption ratio (DAR) or polarization index (PI), it is necessary to record the insulation resistance values for 1 minute and 10 minutes (or 1 minute and 5 minutes), respectively.
5. Post test processing
① Discharge operation
After the test is completed, use a dedicated discharge rod to discharge the tested equipment to ensure there is no residual high voltage.
② Instrument maintenance
Turn off the instrument power, clean the testing line, and store it properly.
If not used for a long time, store the instrument in a dry, non corrosive gas environment.
6. Exception handling
① Data abnormality
If the insulation resistance value is too low (such as<1M Ω), it may indicate that the insulation is damp or aging, and further inspection is needed.
If the value fluctuates abnormally, check if the wiring is loose or if there is excessive environmental interference.
② Instrument malfunction
If there is no response or alarm on the display screen, stop using it immediately and contact professional maintenance personnel for inspection.
It is strictly prohibited to disassemble the instrument by oneself to avoid damaging internal components.
7. Operation example (taking motor winding testing as an example)
Preparation: Disconnect the motor power supply and short-circuit discharge for 3 minutes.
Wiring: The red wire is connected to the first end of the motor winding, and the black wire is connected to the motor casing.
Settings: Select 1000V test voltage and set the test time to 1 minute.
Test: Press the "Test" button and wait for 1 minute before recording the insulation resistance value (such as 500M Ω).
Discharge: Use a discharge rod to discharge the motor and remove the test line.
Key Summary
Safety priority: Always ensure power outage, discharge, and grounding to avoid high-voltage electric shock.
Standardized operation: Connect strictly according to the wiring diagram to avoid reverse connection or poor contact.
Environmental control: Choose a dry and interference free testing environment, and adjust for humidity effects if necessary.
Regular maintenance: Regularly calibrate instruments to ensure the integrity of testing lines and extend equipment lifespan.
By following the above operating procedures, the accuracy of insulation resistance testing and personnel safety can be effectively ensured.
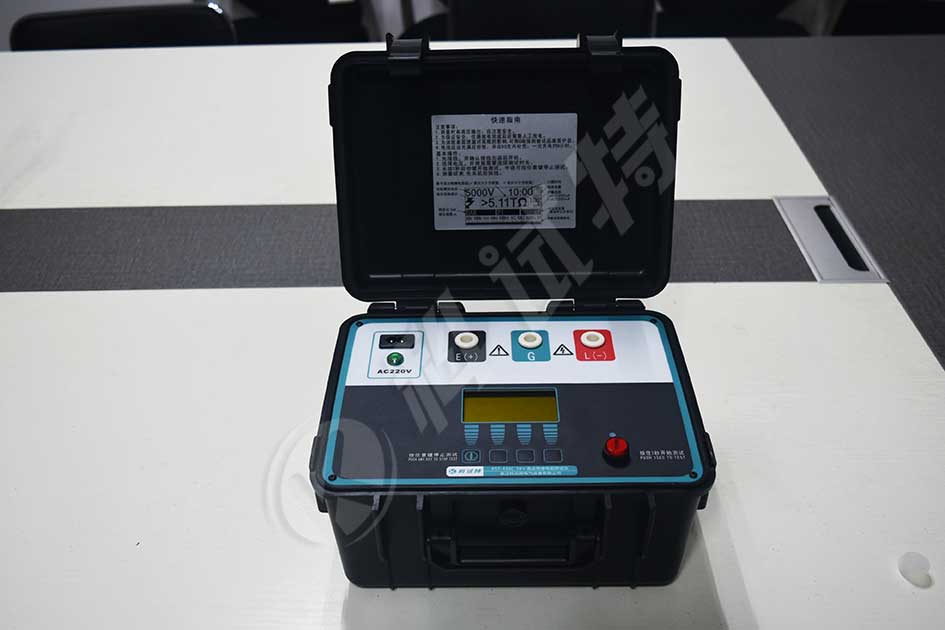
ZC-430C Digital insulation resistance meter also known as megohmmeter, high voltage insulation resistance tester, etc., for the insulation resistance test. The instrument has a large LCD screen gray backlit display, data storage, data access, alarm, automatic shutdown and other functions. At the same time, it also has the function of measuring DC voltage, AC voltage, absorption ratio and polarization index of DC voltage. It is suitable for measuring the resistance value of various insulating materials and the insulation resistance of transformers, motors, cables and electrical equipment.At the same time, it can output a variety of different voltage levels with the step-adjusting voltage function.
Kvtester Electronics Technology Co.,Ltd. is a high-tech enterprise specializing in power testing, testing, research and development, production, and sales of testing equipment. It has been engaged in the electrical testing industry for many years, and its products are of high quality. We welcome customers to come and purchase. Service hotline: 0086-27-81778799, to learn more, visit the official website: www.kvtester.com